Is Your Dining Room Small? Use built-in Seating Where Provides Extra Space
Built-in seating is a highly sought-after solution for kitchens and dining rooms, mainly when the ideal table placement is against a wall instead of the center of the room. In homes grappling with space constraints, a built-in bench proves advantageous by providing additional seating capacity beyond what would typically be achievable. Moreover, it offers a clever means of seamlessly integrating concealed storage compartments beneath the bench.
1) Elegant Ideas Dining Room With Built-in Seating
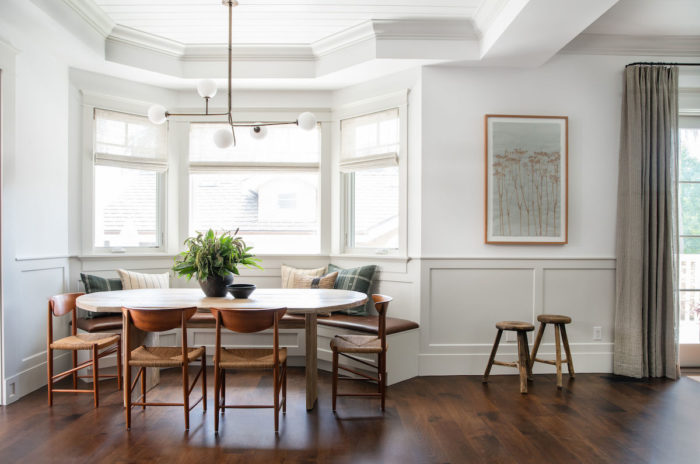
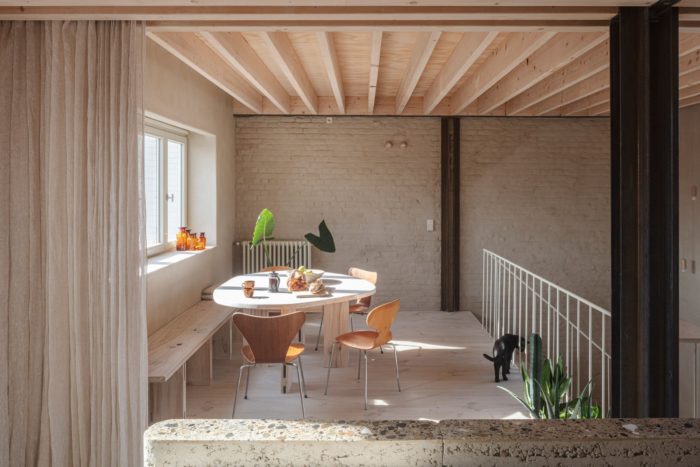
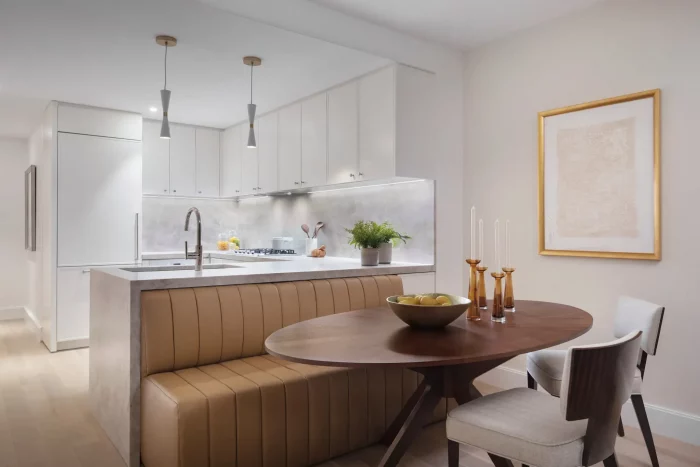
The most conventional method involves constructing a fixed bench along one side of the dining table and adding dining chairs on the opposite side. However, alternative configurations such as L-shaped or curved seating installations may be viable, contingent upon the room’s layout. Irrespective of the chosen design, the key to a successful implementation is ensuring that the table’s legs do not interfere with the bench’s base. This provides easy accessibility for individuals to sit down and stand up without obstructions.
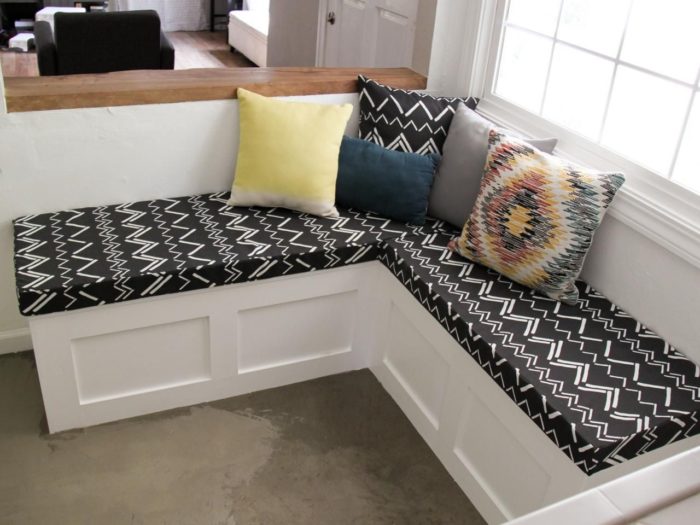
1- Elevate Your Dining Room: L-Shaped Built-In Seating
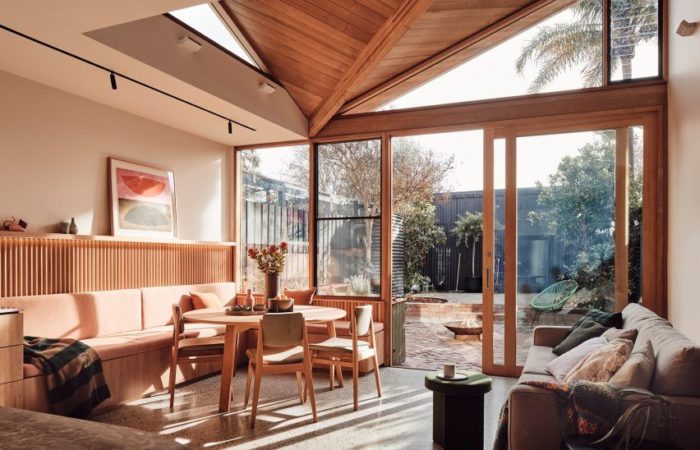
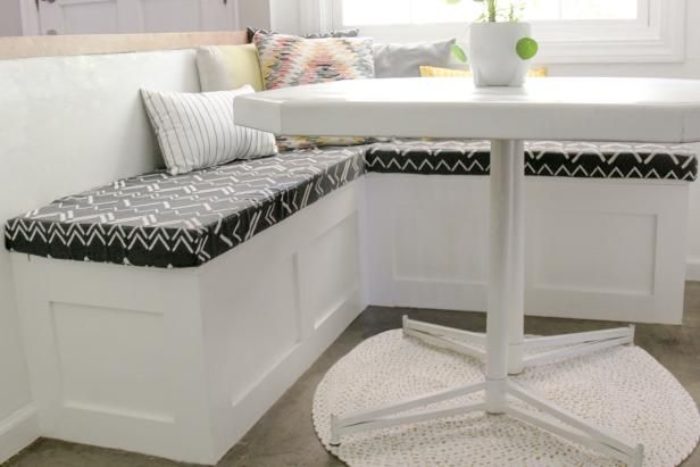
Discover the perfect fusion of space-saving ingenuity and elegant aesthetics in your dining room with L-shaped built-in seating. Say goodbye to clunky chairs cluttering your dining area. L-shaped seating snugly fits against the walls, allowing you to maximize floor space and making the room more open and inviting.
2- Innovative Dining Room Storage Galore Hacks
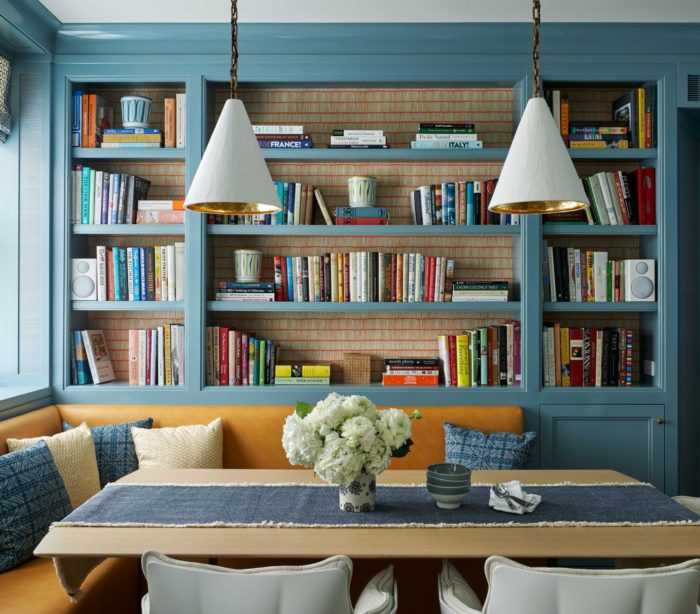
If you’re searching for a dining room that combines space-saving efficiency with an elegant appearance, “Dining Room with Built-In Seating and Storage Galore.” This clever design solution offers a cozy and stylish dining area and maximizes storage space. Knowing that most Dining rooms work overtime as homework stations, living room and game-night venues.
Stuffed bookshelves may look and feel most at ease in an office or a library. Still, they may also give a dining room an atmosphere similar to a library. Wrapping the spines in the same color will transform them into works of art rather than merely independent reading nooks.
Related: Interior Design For Home Library: 3 Basic Questions You Don’t Want To Ask Anymore
3- Luxurious Dining Room with Leather Built-In Seating
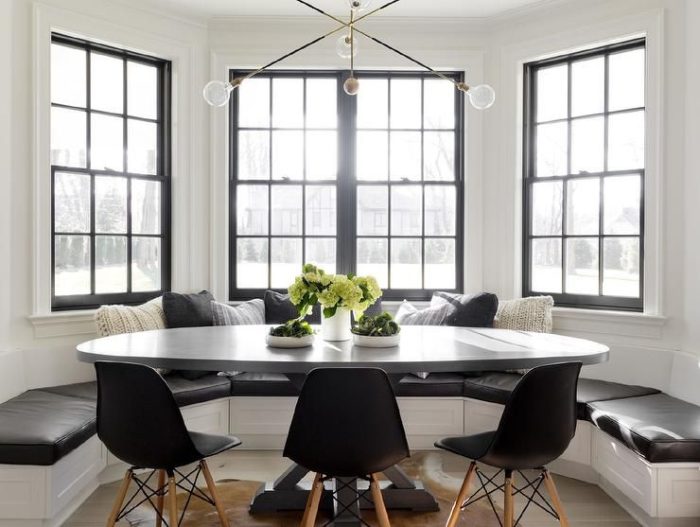
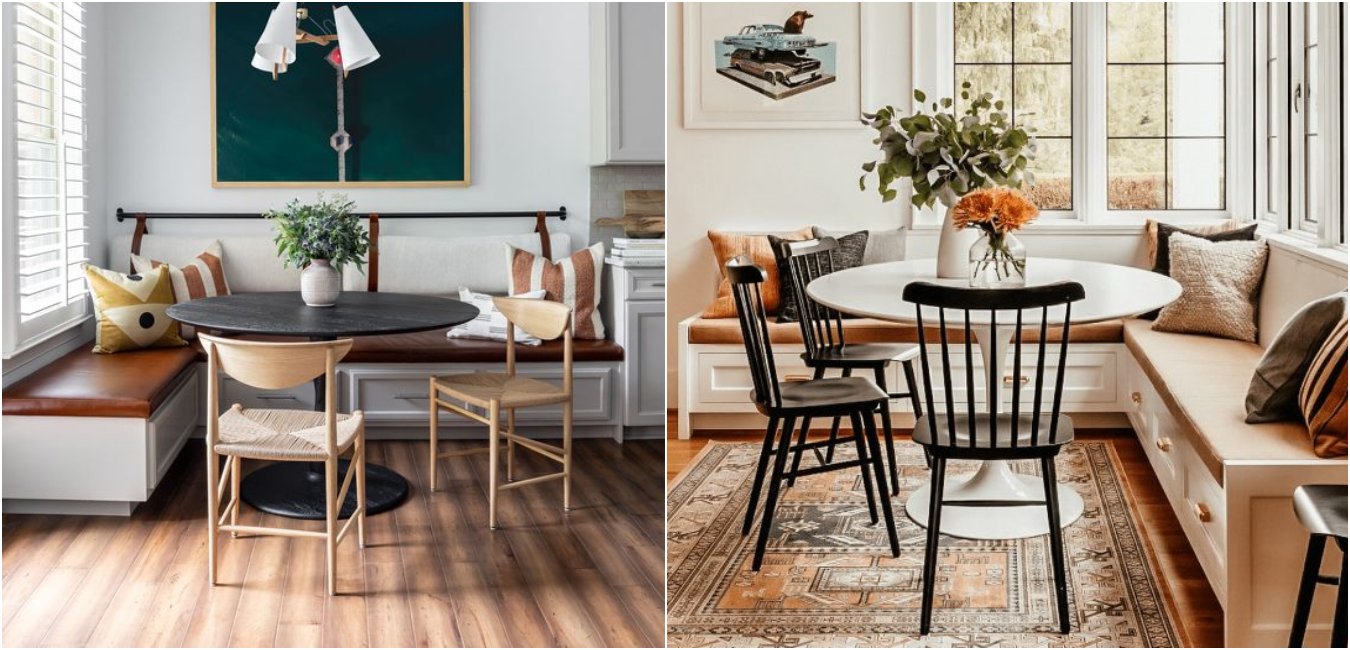
A dining room with leather built-in seating offers a perfect blend of space-saving efficiency and elegant aesthetics. These cleverly designed seating solutions provide a sense of luxury while maximizing your dining area’s functionality. The rich texture and timeless appeal of leather bring a touch of sophistication to your space, enhancing the overall ambiance
By seamlessly integrating the seating into the room’s architecture, you not only save precious floor space but also create a clean and uncluttered environment. Whether a cozy corner or a chic nook, leather built-in seating transforms your dining room into a stylish, comfortable, and space-efficient haven for everyday meals and special occasions.
Read more: 19 Glamorous Modern Dining Room Design Ideas That Will Astound Your Beloved Ones
4- Elegant Dining Room With Fabric Built-In Seating
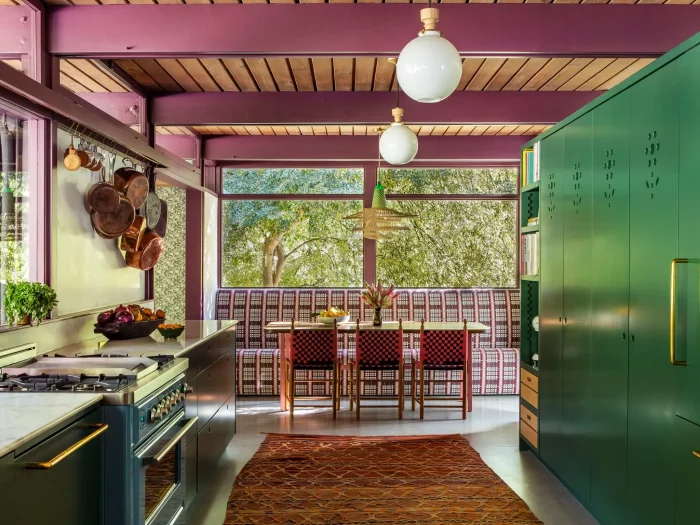
When creating built-in seating, you have two options: a wood base with loose cushions or a fully upholstered design. In both cases, it’s essential to carefully select a fabric that takes into account both pattern and performance. The advantage of built-in seating is that you can incorporate patterns and colors without overwhelming the dining room’s overall ambiance. Doing so lets you transform the dining area into a distinct destination, even though it’s just a short walk away.
5- Dining Room: Built-in seating in the Kitchen
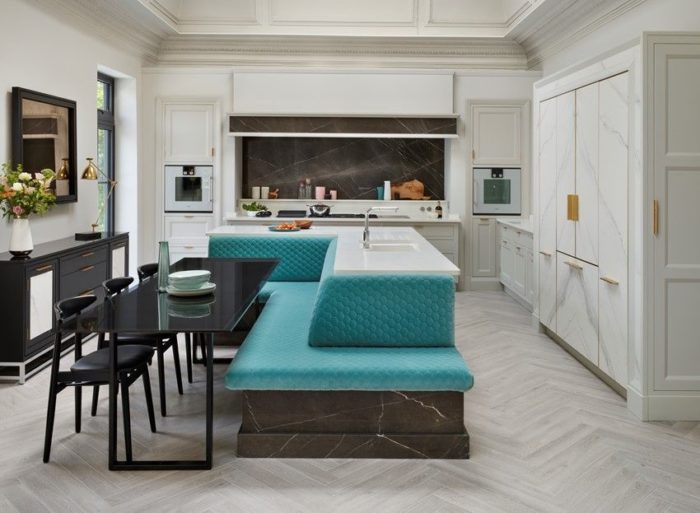
Kitchen islands frequently incorporate bar stool seating, but we find this concept of a multi-functional island particularly appealing. The corner design offers ample seating, elegantly integrating it into the dining space.
Also read: 6 Impressive Outdoor Kitchen Design Ideas + 10 Key Tips
Build a Built-in -seating bench to fit more people around the table in less space. This DIY seating bench opens up, providing extra space to stash things like occasionally used small appliances.
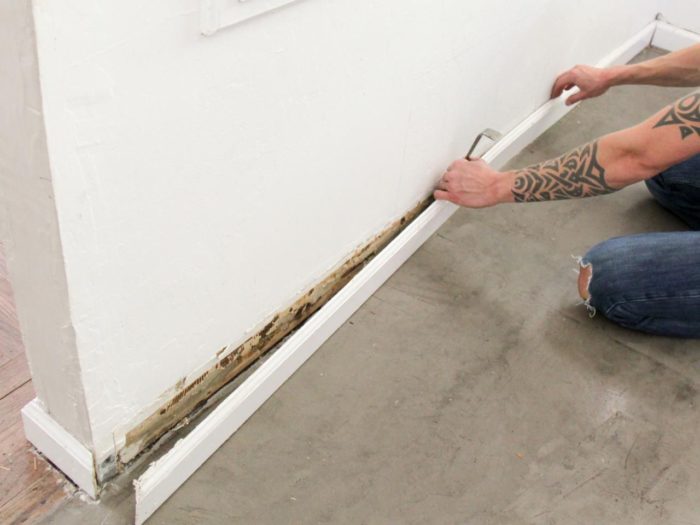
1- Prepare the Space
Start by removing the baseboard and any other trim elements in the area where you plan to install your bench. Next, locate the wall studs and mark their positions for proper installation.
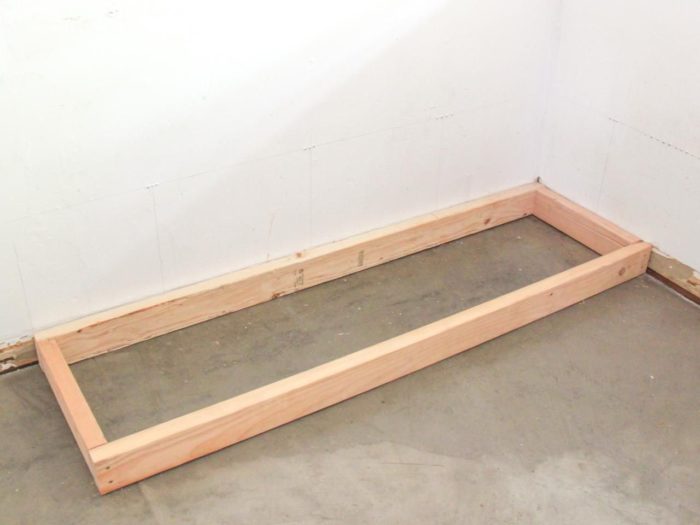
2- Start Frame and Build Box
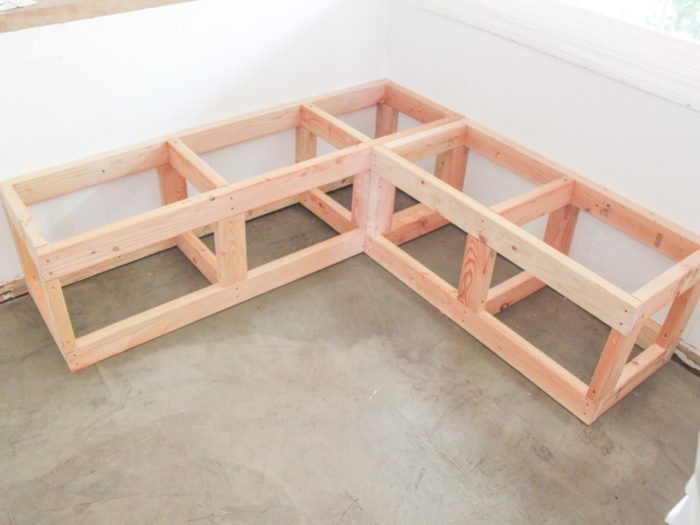
Start the corner bench by measuring from the corner to the final edge, subtracting 1 inch for plywood and trim. Cut two 2x4s to the measured length and two to a 14-1/2 inches depth. Place the shorter pieces inside the longer ones, adding 1-1/2 inches on each side, and secure all four pieces. Repeat this process for the upper part of the bench. Cut four 2x4s to 9-3/4 inches for the vertical components, attaching them at each corner. Place the second rectangular piece on top and secure all components to create a box-shaped frame. Finally, slide the frame into its designated location.
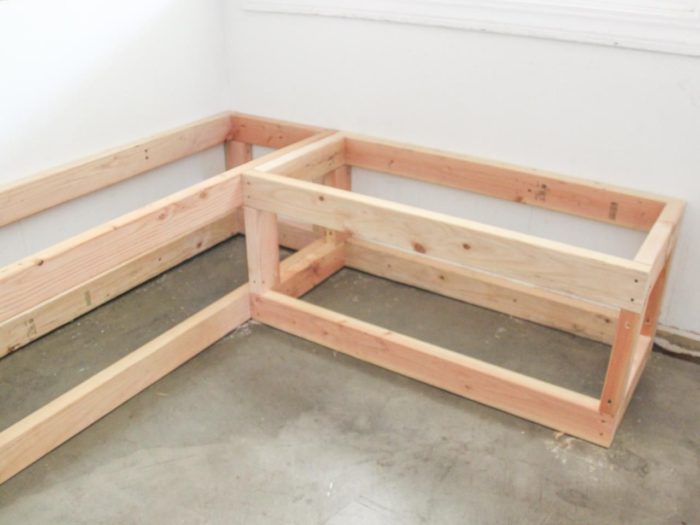
3- Frame the Second Side and Reinforce the Framing
To determine the dimensions of the shorter side of the banquette, measure from the edge of the first framed box to where you want the final border to be, and then subtract 1 inch to account for the plywood and trim. Repeat the same construction steps used for building the first box, but utilize this adjusted length. Position the shorter container alongside the longer one and fasten them with screws. Push the frames back into the corner and secure them to the wall. Attach the shelves to the wall studs and maintain a level position during installation to ensure a straight and even fit.
Cut seven 2×4 pieces, each measuring 14-1/2 inches, and six 2×4 pieces, each measuring 9-3/4 inches, to serve as horizontal and vertical reinforcements. Place these support pieces where the two frame sections intersect, as well as halfway from the end of the bench to the corner intersection. Install the seventh 2×4 piece, which measures 14-1/2 inches, on the inside corner of the more extended frame box. This additional piece is essential for attaching the corner benchtop.
4- Face Frame With Plywood
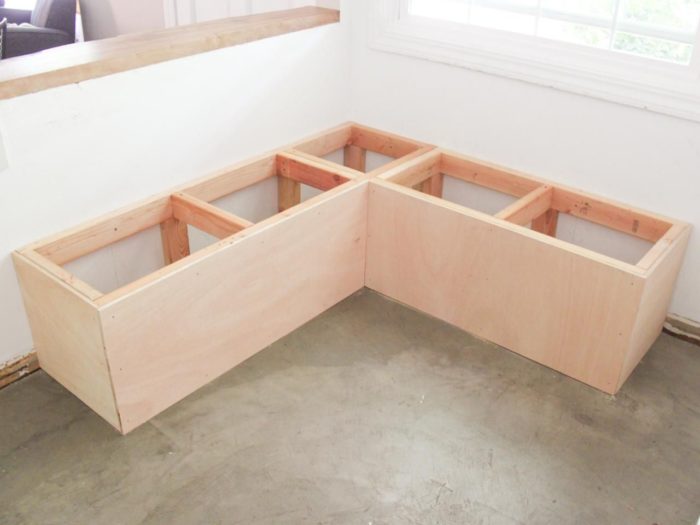
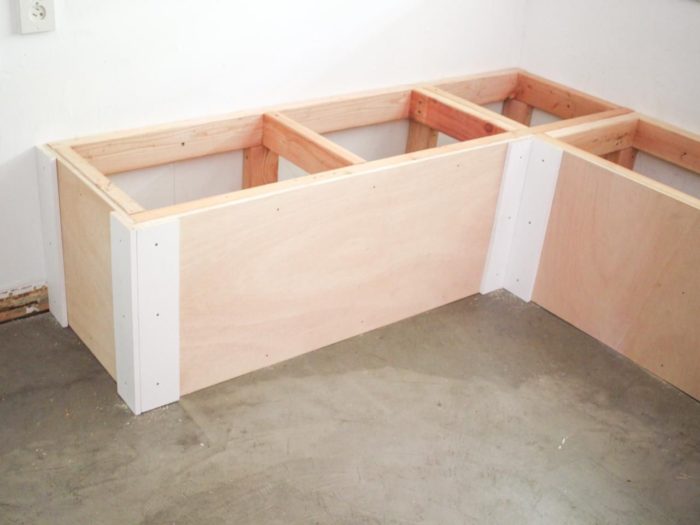
Cut two pieces of 1/2-inch plywood measuring 17-1/2 inches by 16-3/4 inches. Pre-drill holes and secure them to the ends of each box. Then, cut a single piece of 1/2-inch plywood that is 16-3/4 inches in height and matches the length of the longer side of the bench, spanning from the inner corner to the outer edge, including the recently installed end piece of plywood. Attach this plywood piece to the longer side. Finally, measure and cut a 1/2-inch plywood section to cover the remaining shorter side and fasten it into place.
Related: Architect’s Guide to Effective Design: 5 Wooden Boards You Need to Know About
6- Prepare Lids
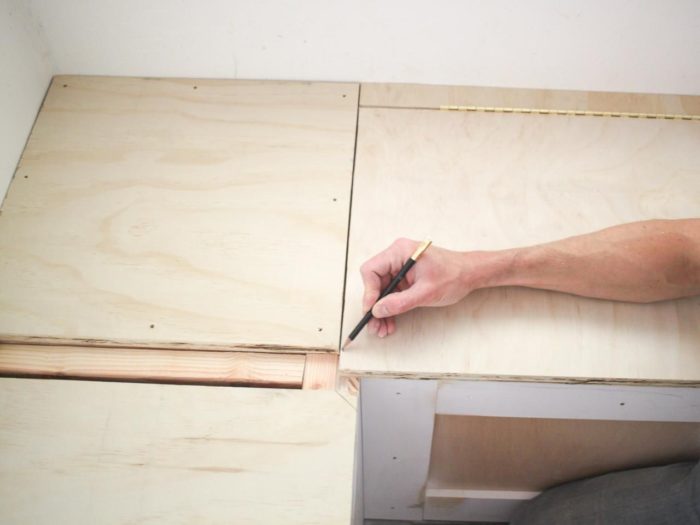
Cut a square piece of 3/4-inch plywood measuring 17-5/8 inches by 17-5/8 inches and securely fasten it to the corner of the bench; this piece will remain stationary. Next, measure and cut two pieces of 3/4-inch plywood for the benchtop or lids. Each article should measure 16-3/8 inches in length, from the edge of the bench to the square piece in the corner.
To create the stationary part of the benchtop that will go against the wall, rip a 1-7/8-inch piece lengthwise from each lid piece and attach them face down along the border on each side of the bench. Place the remaining more significant parts of the lid face-up on the court, leaving a 1/16-inch gap between the plywood pieces for the hinge. Once the lid pieces are in position, use a pencil to mark where you need to cut a diagonal notch from the lid’s inner corners so they can close without overlapping.

